How To Install an Integrated Solar Streetlight
Integrated streetlights are a popular option for many commercial properties. These light fixtures are self-contained, low-maintenance, and don’t require connecting to a larger power grid to keep them moving. Solar streetlights are easy to work with and require little additional maintenance after installation. If you’re wondering how to install an integrated solar streetlight for your property, Induction Lighting Fixtures is here to help.
Deciding Where To Install Your Lights
Before you start buying fixtures and putting them together, you must decide where you want to install your lights. The size of your property can give you a rough idea of how many light fixtures you need and help you plot out suitable places to set them up. You want to ensure that your lights illuminate key areas like entrances and exits, as well as any dangerous traffic areas, like intersections or crosswalks in front of your building.
Typically, you should space lights about 20 feet apart, so use that information to figure out how many you need to purchase and install. A helpful hint when installing solar street lights is to consider the position of the sun around your building. We recommend setting up your solar panels in a way that they face the sun at around 2 pm. At that time of the day, the sunlight is more intense, allowing your street lights to get ample energy and run without complications.
Necessary Tools
You will need a few specific tools when installing your lights. Traditionally, you want a 20m startup hoist to lift your lamp poles into the proper position. Other essential tools are monkey wrenches and inner hexagon wrenches. Depending on what type of light you’re using, you may require additional tools, but those should cover the basics of what you need to proceed.
You will also need tools and components to lay the foundation so you can plan out where to install your lights. You want to ensure that you’re setting up your streetlights on a flat surface with no curves or hills. You can use four screws to connect your base cage to the ground and secure it in place with a concrete mixture.
Light Components
There are many different makes and models of integrated streetlights. Still, typically when you unbox the unit, you can expect to find many of the same components and have a rough idea of how to put them all together. Therefore, when you unbox everything, you should watch out for the following materials.
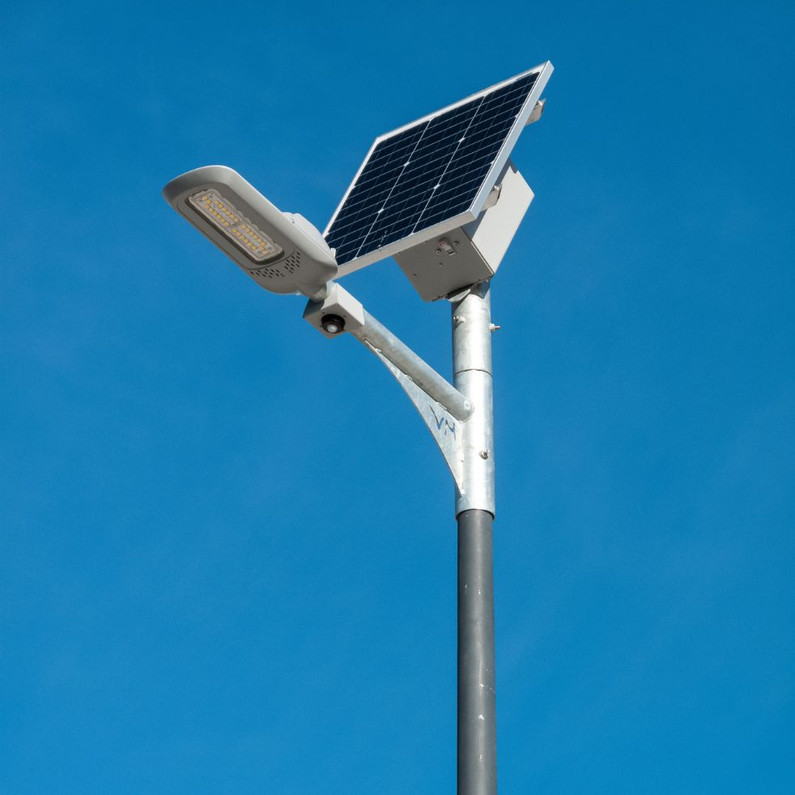
Solar Panel
The solar panel is one of the most vital parts of a sustainable light fixture. These panels, or photovoltaic cells, absorb and convert solar energy into usable power that goes through the other components of the light fixture. Contrary to popular belief, solar panels get their energy through light rather than heat, so they continue to work well even in the colder winter months. The more sunlight that encounters your photovoltaic cells, the more they can absorb. This process is why it’s essential to position your panels in a way that ensures they get as much exposure as possible to sunlight throughout the day.
Rechargeable Battery
Every solar light fixture needs a rechargeable battery. You want your lights to run at the night when your panels aren’t absorbing light, and the battery allows your units to store usable power in a bank to use throughout the evening. In addition, many lithium-ion batteries used in these types of light fixtures last anywhere from five to eight years, making them relatively low-maintenance and easy to track.
LED Lights
LED light bulbs keep your fixtures illuminated. LED bulbs last for many years and should keep your fixture running without a problem, especially if it’s only on at night.
Pole
Streetlights require a solid shaft to illuminate from a higher vantage point. The overall size varies from model to model and often ranges between 12 and 20 feet tall.
Connecting Cables
The interconnecting cables allow you to connect the primary components of your streetlight. First, you need to connect the LED light, battery, and solar panel together. Since many people keep the battery far away from the other components, you want to ensure that the cables run through without issue.
Controller
The controller is the part of your light fixture that allows you to turn it on or off and control the internal timer. It has its own power supply and MCU to run more independently. These are helpful devices when setting up your lights to turn on as the sun starts to set.
Installation Steps
Once you have all the prep work and components, installing an integrated solar streetlight is a short and straightforward process. It requires a few steps and checking that things are working. After preparing the foundation, follow this sequence for every unit you plan to install.
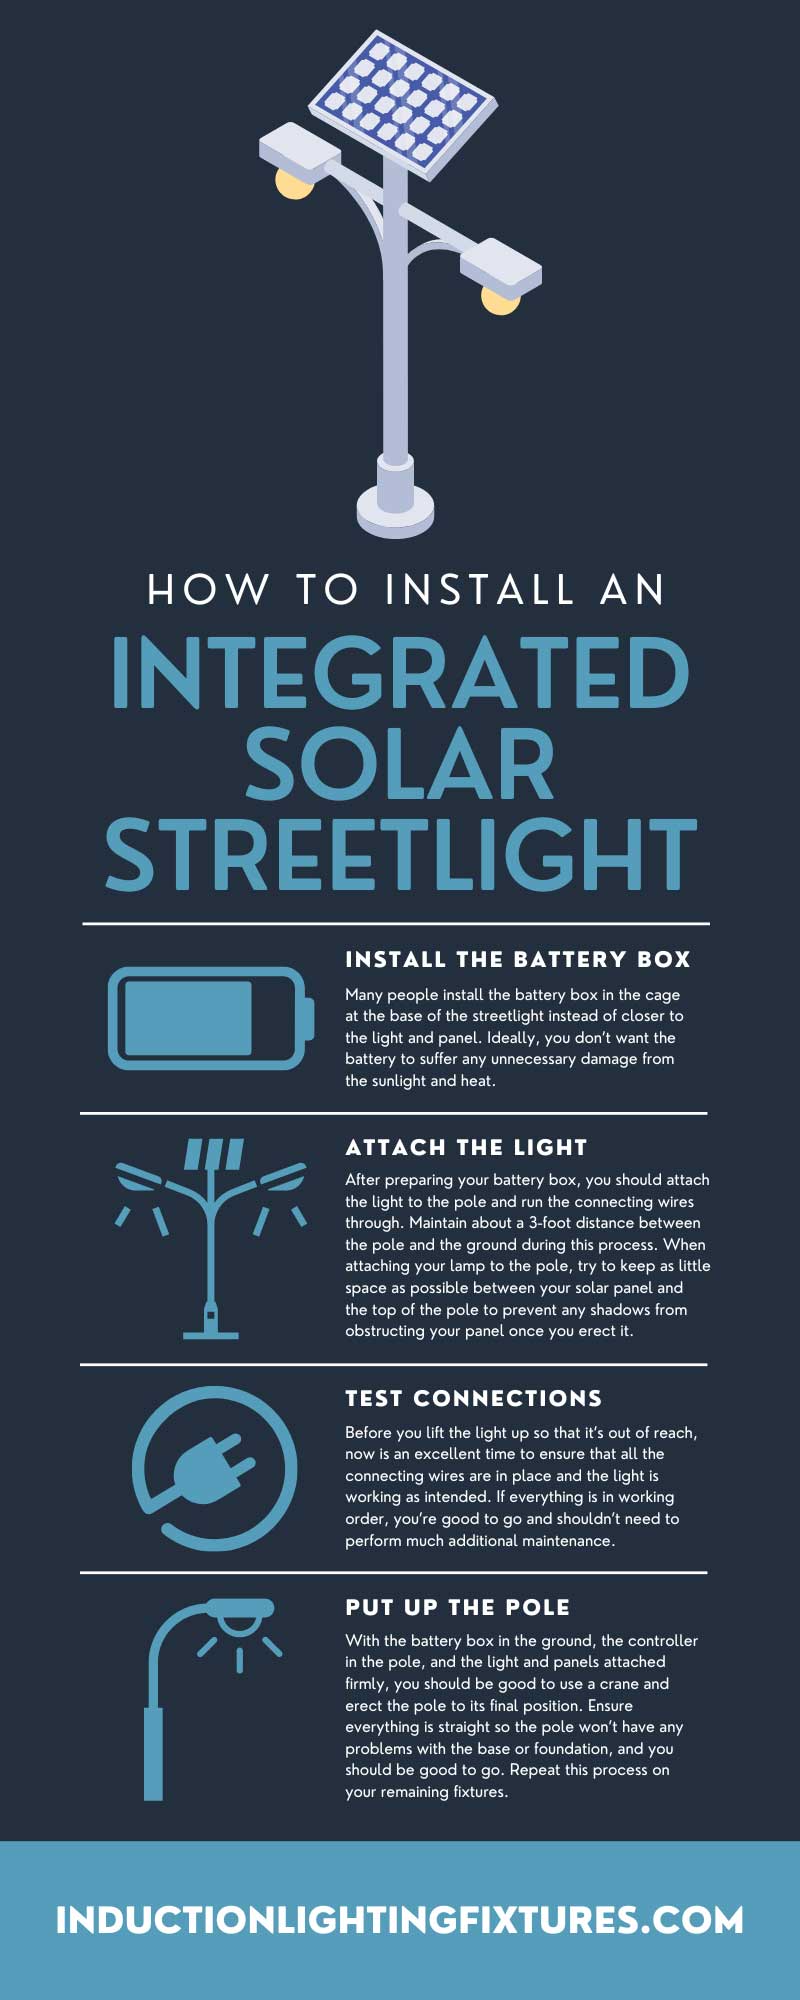
Install the Battery Box
Many people install the battery box in the cage at the base of the streetlight instead of closer to the light and panel. Ideally, you don’t want the battery to suffer any unnecessary damage from the sunlight and heat.
Attach the Light
After preparing your battery box, you should attach the light to the pole and run the connecting wires through. Maintain about a 3-foot distance between the pole and the ground during this process. When attaching your lamp to the pole, try to keep as little space as possible between your solar panel and the top of the pole to prevent any shadows from obstructing your panel once you erect it.
Test Connections
Before you lift the light up so that it’s out of reach, now is an excellent time to ensure that all the connecting wires are in place and the light is working as intended. If everything is in working order, you’re good to go and shouldn’t need to perform much additional maintenance.
Put Up the Pole
With the battery box in the ground, the controller in the pole, and the light and panels attached firmly, you should be good to use a crane and erect the pole to its final position. Ensure everything is straight so the pole won’t have any problems with the base or foundation, and you should be good to go. Repeat this process on your remaining fixtures.
To learn more about all-in-one solar streetlights, Induction Lighting Fixture has everything you need for your commercial or industrial properties. We have a wide range of streetlights perfect for parking lots, construction areas, and other places needing sustainable lighting poles. For more information, please contact a member of our team, and we’ll be happy to assist you.

Recent Posts
-
Spotlight - The IL-SPG54 Smart Solar Walkway Light: Where Performance Meets Simplicity
Introducing the IL-SPG54 Smart Solar Walkway Light: Where Performance Meets Simplicity When it comes …Jun 16th 2025 -
Corn Bulb Sale - While supplies last!
⚡ Limited Time Sale – BLE Series Corn Lamps Starting at $24.99! Stock up now while supplies la …Jun 11th 2025 -
Dark Sky Lighting in Breckenridge Colorado. Can I retain my existing fixture and still comply with the new Rules?
Breckenridge Colorado Dark Sky lighting has been a focus of ours for the last year. All resid …May 2nd 2025


